Learning Stations vs Centers: The Difference, Rotation Schedules and Examples
Stations are a sequence: every group visits every station, usually on a timer, and each station covers part of the same lesson or skill. Centers are a menu of ongoing practice areas that stay up for weeks, where students often choose or are assigned by need. Both can run on a rotation; the most common schedule is four groups rotating every 15–20 minutes, with the teacher leading one table.
In this article you will find
- The difference at a glance
- When to use stations
- When to use centers
- How to group students
- Rotation schedule 1: four groups, four stations
- Rotation schedule 2: three groups, three stations
- Rotation schedule 3: must-do and may-do
- Examples by grade band
- Making rotations run smoothly
- Accountability without grading everything
Learning stations are a sequence of short, connected activities that every group rotates through, usually on a timer and often within a single lesson, while centers are ongoing practice areas that stay set up for weeks and that students visit on a schedule or by choice; both use rotations, but stations teach parts of one lesson and centers give repeated practice on many skills. In practice, many teachers use the words interchangeably, and that’s fine. What matters is knowing which model fits your goal, because the planning, the materials and the schedule are different. Below you’ll find a side-by-side comparison, three rotation schedules with exact timings, and examples for each grade band. For the basics of setting up centers in the first place, see our learning centers guide.
The difference at a glance
| Stations | Centers | |
|---|---|---|
| Purpose | Teach or practice parts of one lesson or unit | Ongoing practice and review of many skills |
| Duration | One class period or a few days | Weeks, with tasks rotated in and out |
| Who visits | Every group visits every station | Students go where assigned or choose from a menu |
| Content | All stations connect to the same topic | Each center has its own focus (word work, math games, listening) |
| Typical grades | Common in 3rd–12th and in science and math | Common in K–3, especially for literacy and math blocks |
| Teacher role | Often leads one station, or circulates | Usually leads a small group while others are at centers |
A simple way to remember it: stations move students through a lesson; centers keep students practicing while the teacher works with small groups.
When to use stations
Stations work well when a topic has several parts that don’t need to happen in a fixed order. A 4th grade lesson on the water cycle might have a reading station with a short article, a diagram station where students label the cycle, a hands-on station with a bag model of evaporation and condensation, and a teacher station for a quick check. Every student does all four, and by the end everyone has met the content in several ways.
Stations also help with limited materials. If you have only six microscopes or one set of fraction tiles, a station lets small groups use them while others work on something else. And they bring movement into a long block, which most elementary students need.
Stations also work as a review format before a test. Set up one station per skill from the unit (vocabulary, a diagram, a short reading, a set of problems), and students rotate through all of them in one or two class periods. You’ll see quickly which station causes trouble, which tells you what to reteach.
A good station is self-contained. Directions fit on one card, materials are ready, and the task takes about the same time as the rotation. If one station takes twice as long as the others, the whole schedule breaks, so test each task yourself and trim the slow one.
When to use centers
Centers fit routines that repeat every day or week. The most common reason to run centers in K–3 is to free the teacher for small-group reading or math instruction. While you meet with one group, the rest of the class works at centers they already know how to run: word building with letter tiles, a partner reading spot, a math game, a writing center, a listening center.
Because centers stay up for weeks, the routine does the heavy lifting. Students learn how each center works once, and you change the task inside, not the procedure. Our guide to small-group reading instruction explains what to do at the teacher table while centers run.
A center should also be self-running, but it’s built for repetition. The word work center might have the same routine all year (build, read, write the word) with a new set of spelling patterns each week. That repetition is what makes centers efficient: students spend their time on the skill, not on figuring out new directions. When students seem bored with a center, change the content or the game board, not the routine.
How to group students
Grouping depends on the purpose. For the teacher table in a literacy or math block, group by need, so you can target a specific skill. For stations exploring new content, mixed groups often work better, because stronger readers and writers can support others at independent stations. Many teachers use need-based groups for the teacher table and keep the rest of the rotation mixed by sending each group to the other stations in a different order. Whatever you choose, review groups every few weeks; fixed groups for a whole year tend to label children rather than help them.
Rotation schedule 1: four groups, four stations
This is the most common setup. Divide the class into four groups of mixed or similar ability depending on the purpose. Each group starts at a different station and moves clockwise when the timer goes off.
| Time | Group A | Group B | Group C | Group D |
|---|---|---|---|---|
| 0:00–0:18 | Teacher | Partner practice | Independent | Hands-on |
| 0:20–0:38 | Hands-on | Teacher | Partner practice | Independent |
| 0:40–0:58 | Independent | Hands-on | Teacher | Partner practice |
| 1:00–1:18 | Partner practice | Independent | Hands-on | Teacher |
That’s 80 minutes with transitions. In K–1, cut each rotation to 12 minutes, or run only two rotations a day and finish the cycle the next day.
Rotation schedule 2: three groups, three stations
With a shorter block (45–60 minutes), use three stations of 15–18 minutes: teacher table, independent practice and a collaborative or technology task. Three groups of eight or nine are larger, so give the independent station a clear, self-checking task. This schedule works well for upper elementary math, where the teacher station is a mini-lesson for each group.
Rotation schedule 3: must-do and may-do
This one is closer to a true centers model. Students have a list of must-do tasks to finish during the week and a menu of may-do options for when they’re done. The teacher pulls small groups while everyone else works through the list. It gives students more independence and suits 2nd–5th graders who already know the routines. Use a simple checklist they keep in a folder, and check it at the end of each day.
Examples by grade band
Kindergarten (literacy centers): letter-sound matching with picture cards; building CVC words with magnetic letters; listening to a read-aloud recording and drawing a favorite part; teacher table for phonemic awareness and decodable text.
1st–2nd (math stations): a place value station with base-ten blocks; a fact fluency game with dice; a word problem station with picture supports; teacher table for a targeted strategy lesson.
3rd–5th (science or social studies stations): a primary source station with a photo and guiding questions; a vocabulary station with a quick organizer; a hands-on model; a short video or reading with a response card; a teacher station for discussion and checking understanding.
Making rotations run smoothly
Most rotation problems are transition problems. A few habits help:
- Teach one station at a time. Introduce the routine for each station over several days before running a full rotation.
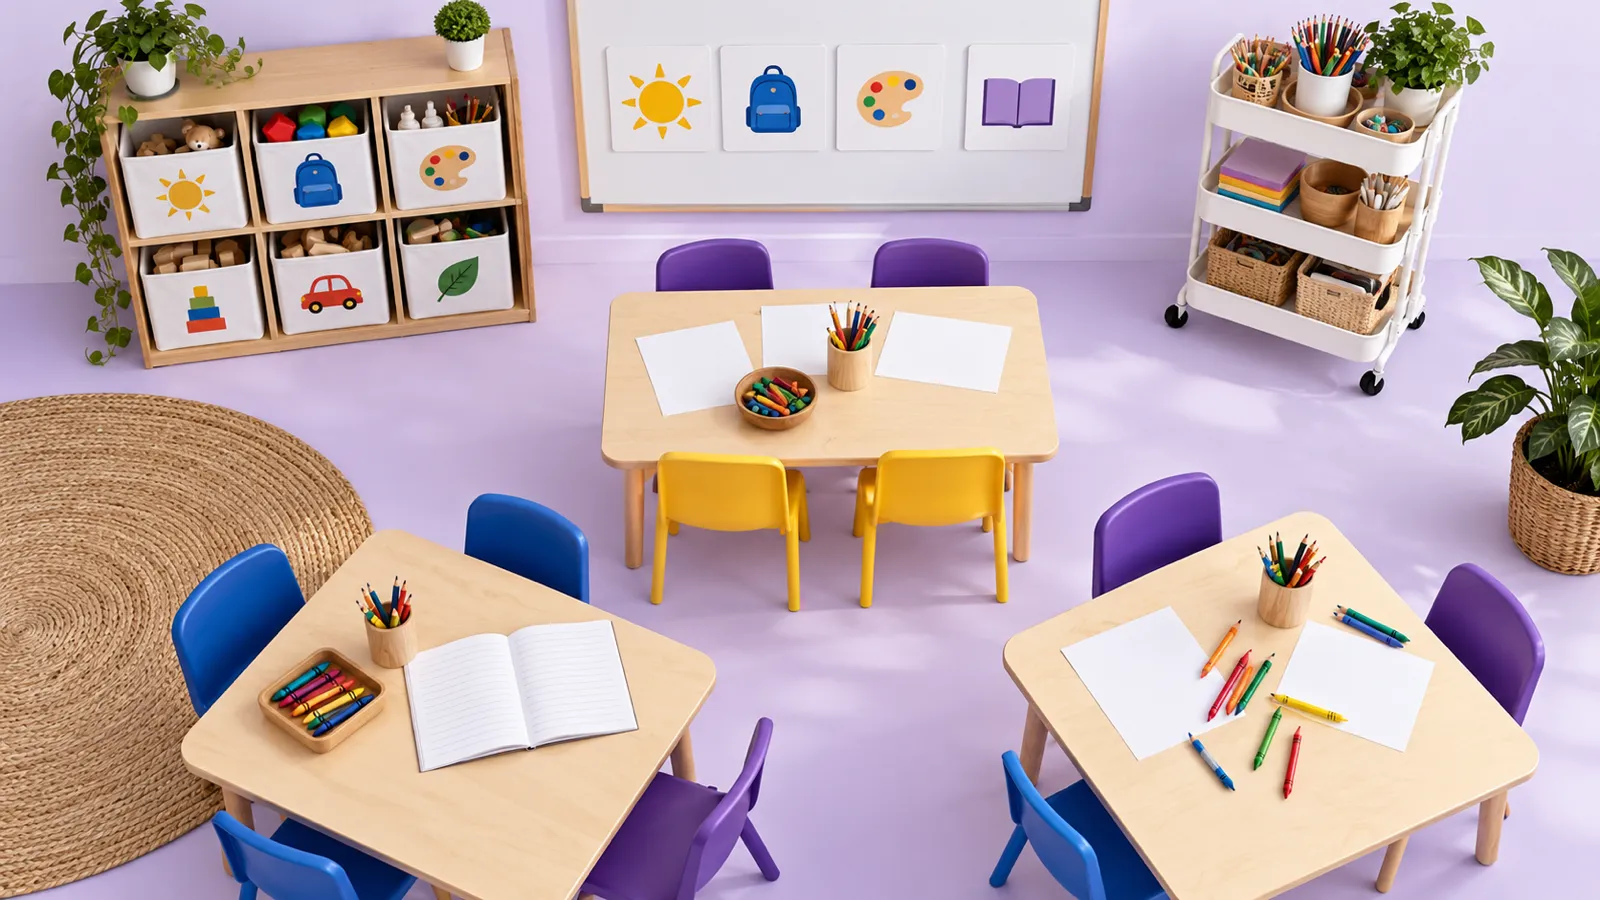
- Use a visible rotation chart with group names and icons, so students know where to go without asking.
- Signal transitions with the same sound every time, and give a one-minute warning.
- Put directions at every station with pictures for nonreaders, and an “if you finish” task.
- Choose station leaders who collect materials and make sure the station is reset.
- Keep noise expectations visual, such as a voice level chart.
If a rotation falls apart, stop, reteach the routine, and try again the next day. It’s normal for the first two weeks to feel bumpy. Short brain breaks between rotations also help younger students reset.
Accountability without grading everything
Students work harder at stations and centers when they know someone will look at the work. You don’t need to grade every task. Try a quick exit slip at one station each day, a recording sheet that you spot-check, or a photo of the finished product. For students with IEPs or 504 plans, check that accommodations the team has decided on (extra time, directions read aloud, visual supports) are available at each station, not only at the teacher table. Our differentiation strategies post has more ways to vary tasks inside the same station.
To set up centers from scratch, organize materials and plan the first weeks, visit our learning centers guide.
FAQ
What is the difference between learning stations and centers?
Stations are temporary and sequential: all students rotate through all stations, often in one lesson, and each station is part of the same content. Centers are longer-lasting areas with ongoing practice (a word work center, a listening center) that students visit on a schedule or by choice over days or weeks.
How long should each station rotation be?
In K–1, 10–15 minutes; in 2nd–5th grade, 15–20 minutes. Build in 1–2 minutes for each transition and keep the total block to 60–80 minutes.
How many stations should I have?
Three or four is easiest to manage, with groups of four to six students. One station is usually the teacher table for small-group instruction.
What do I do with students who finish a station early?
Give every station a built-in extension (a challenge card, a second level of the same task) so early finishers stay on the same skill instead of wandering.